

How to make a zine
Zines are handmade, self-published magazines. They are a powerful way to share your thoughts and ideas.
Activity time: 30-60 minutes
Zines come in many shapes and sizes. They can be about anything you like:
- stories
- art
- issues you care about
- anything else at all.
Make your own zine with paper and scissors and think about who you'd like to share it with – your friends and family, your school or your local member of parliament or even leave it on the bus for someone to find.

Grab your piece of paper and fold it in half long ways.

Open it back up and fold it in half, short side to short side.

Once you’ve folded it in half, fold that half in half again.

Open your piece of paper back up and you should now have eight segments within the folds.

Now you’ve got those segments, fold your piece of paper in half short side to short side. Cut down the centre fold to the middle where the folds meet. Be sure to only cut one folded segment not the whole way through the paper.

You should have a cut in the middle of your paper.

Fold your piece of paper long ways, so the cut is at the top of your fold. Take both ends where the top cut starts and push together to open where you have cut, it should end up looking like a plus symbol once you’ve pushed both ends together.

Once you’ve got both ends pushed together you can fold it together into a small 8-page book and you are ready to get those ideas onto the page.
If you are looking for some extra zine idea inspiration, have a look through our zine mind map. It might just help you create your own revolutionary response through the art of zine-making.
Once you've finished your zine, share it with someone. Share it with a friend, family member or leave it on the bus, at school, the zine lounge at MoAD, or your send it to your local government representative.
Whoever it is, let them hear what you have to say. The more voices that are listened to, the more people will understand another’s experiences and the better society will be.
More children's rights


You may also be interested in...

Australian democracy
Every democratic society is distinct. The same is true for Australia.

Is it compulsory to like compulsory voting?
How compulsory voting influences individuals in a democracy.
Digital excursions and events
Visit MoAD from your classroom and get young people talking about democracy, leadership and sustainability.
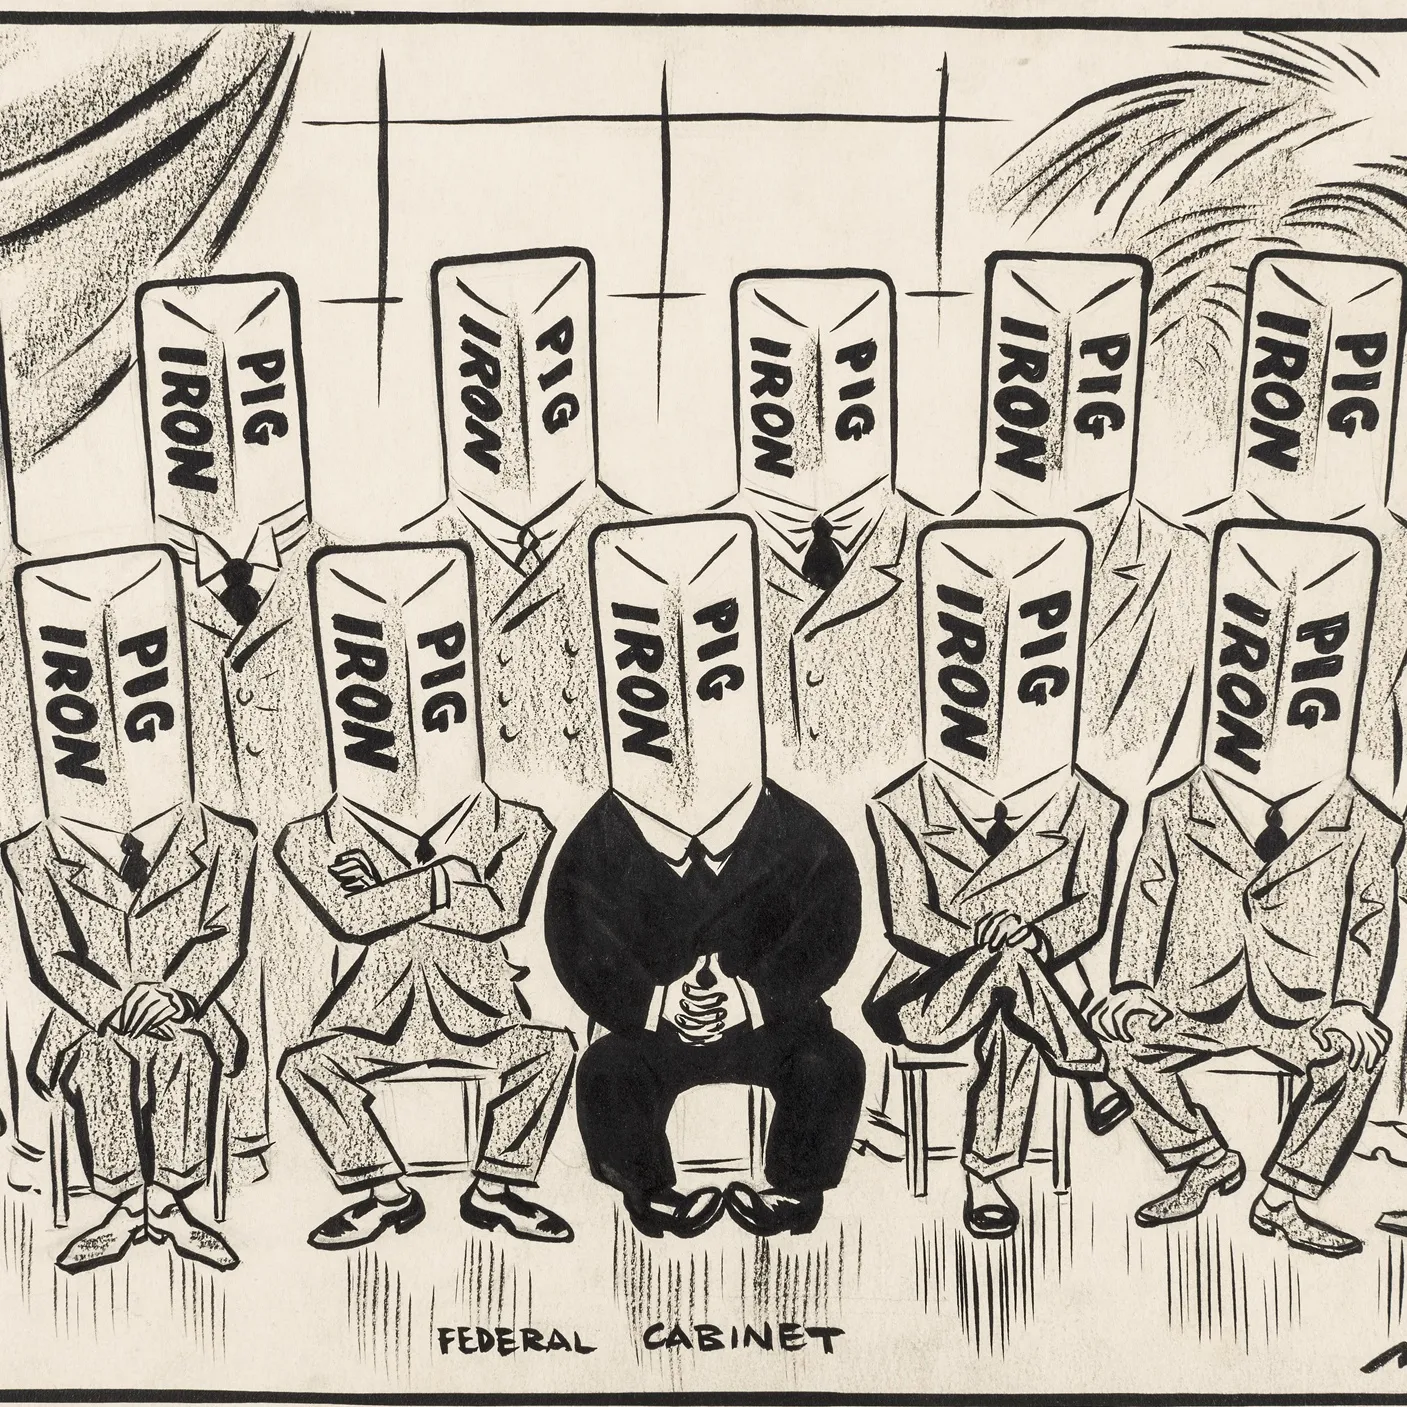
Behind the lines
Explore political cartoons in Behind the Lines exhibitions online.

Our Voices, Our Choices
Students engage in deep learning as they explore civic participation in a functioning democracy.
Tosspot to bodgie: seven prime ministerial nicknames
Discover how these prime ministers got their infamous nicknames.